Perhaps the most basic concept in photography is “THE EXPOSURE TRIANGLE” – this is a concept that helps balance three core elements—aperture, shutter speed, and ISO—to achieve a well-exposed photo. Each one affects the brightness of a photo and how it looks in terms of depth, motion, and graininess. Here’s how each part of the triangle works:
1. Aperture (measured in f-stops, like f/2.8, f/4, etc.):
- This is the size of the lens opening. Think of it like the pupil of an eye—the larger it is, the more light it lets in.
- Lower f-numbers (like f/1.8 or f/2.8) mean a wider aperture, letting in more light and creating a shallow depth of field. This makes backgrounds blurry, which is great for portraits.
- Higher f-numbers (like f/16) mean a smaller aperture, letting in less light but giving you a larger depth of field. This keeps more of the scene in focus, ideal for landscapes.
2. Shutter Speed (measured in seconds or fractions, like 1/1000, 1/250, etc.):
- This controls how long your camera’s sensor is exposed to light. Think of it as how fast your camera’s “eye” blinks.
- Faster shutter speeds (like 1/1000) freeze motion, so they’re great for action shots or if you’re shooting handheld.
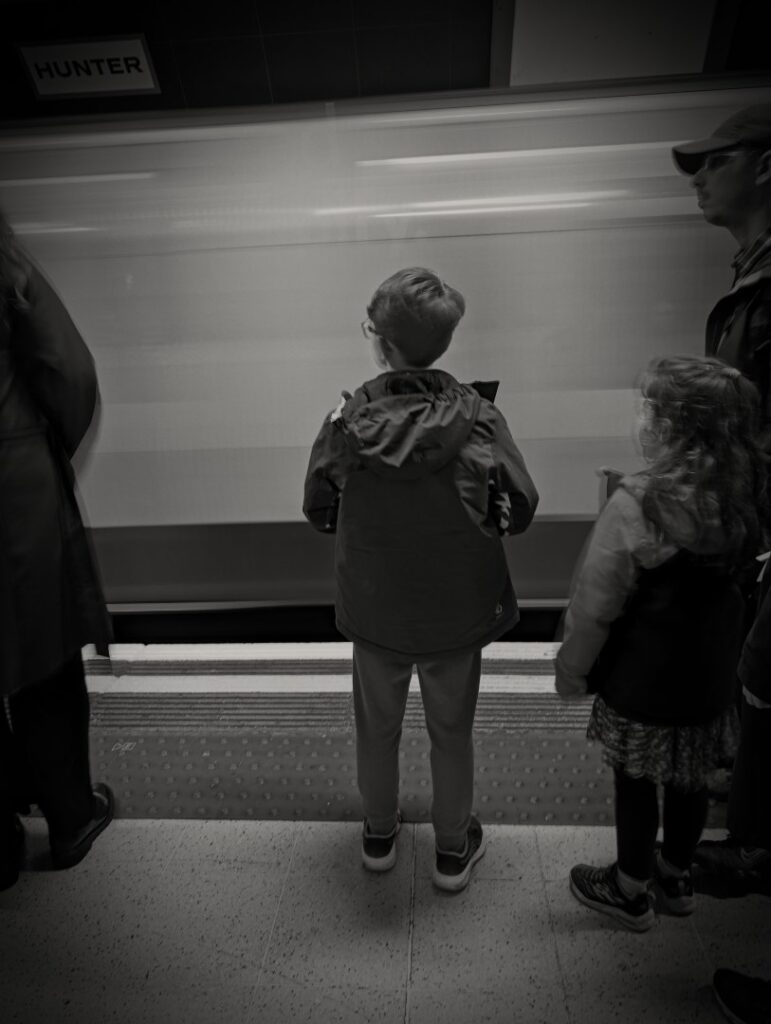
- Slower shutter speeds (like 1/30 or even 1 second) let in more light but can cause motion blur. They’re useful in low-light conditions or if you want to create a motion effect, like with flowing water.
3. ISO (often between 100 and 6400 on most cameras):
- ISO measures the sensitivity of your camera’s sensor to light.
- A low ISO (like 100 or 200) keeps your image crisp and clean, but requires more light—perfect for sunny days.
- A high ISO (like 1600 or 3200) makes your sensor more sensitive to light, so it’s good for darker settings. However, higher ISO levels can introduce “noise” (graininess) in your photos.
How They Work Together
If one of these settings changes, the others need adjusting to maintain the same brightness. Here’s an example:
Scenario: Let’s say you’re shooting a portrait and want a blurry background.
You might start by selecting a wide aperture, like f/2.8. This lets in a lot of light, so to prevent overexposure, you might use a faster shutter speed or lower ISO.
Balance: By balancing aperture, shutter speed, and ISO, you control exposure while also deciding on the visual effects, like motion blur or sharpness across a scene.
If you think of each element as one side of a triangle, adjusting one side always affects the others. The goal is to keep the “exposure balance” by adjusting the others in tandem, depending on the look and feel you want.


However, if you can imagine different types of triangles, its is possible to adjust these settings – in relation to each other – to form similar looking image. That is, you can achieve a similar-looking photo with different combinations of aperture, shutter speed, and ISO, and this is one of the powerful aspects of understanding the exposure triangle. Adjusting each element affects not only the exposure but also the artistic style of the photo, like depth of field, motion blur, or noise. This is called an “EXPOSURE EQUIVALENT” – different settings that give the same overall exposure level.
Let’s go through an example:
Example Scenario
Imagine you’re photographing a landscape on a sunny day, and you want the entire scene to be in focus (sharp from front to back) with minimal noise.
1. Settings Option 1:
- Aperture: f/16 (narrow, for deep depth of field)
- Shutter Speed: 1/100 (lets in enough light with a stable exposure time)
- ISO: 100 (keeps noise low)
This combination would give you a well-exposed photo with everything in focus and low noise.
2. Settings Option 2:
- Aperture: f/8 (wider than f/16, lets in more light)
- Shutter Speed: 1/400 (faster, to compensate for more light entering at f/8)
- ISO: 100 (same, to maintain low noise)
With this set of settings, you’d still get a well-exposed shot, but the depth of field is slightly shallower. This might mean the extreme edges of your focus range are softer, but for many landscapes, this can still give a similar result.
3. Settings Option 3:
- Aperture: f/11 (medium depth of field, still covers much of the scene)
- Shutter Speed: 1/200
- ISO: 200 (a little more sensitive to help balance out any exposure loss)
This setup again allows for a similar exposure level, but with slight compromises in depth of field and a tiny bit more noise due to the increased ISO. Still, the photo would look very similar in terms of overall brightness and clarity.
In each option, the “exposure stays balanced”, but the choice of settings subtly changes how the final photo looks.
Why Choose One Over the Other?
The choice between these settings often depends on your creative intent:
If you want maximum sharpness and are okay with a narrow aperture, Option 1 might be best.
If you want more flexibility in shutter speed (to avoid camera shake, for instance), you could go with Option 2.
If you’re in low light and need a higher ISO, Option 3 offers a compromise.
The more you experiment, the more you’ll see how these settings impact the style and feel of your photos.