


I’ve been struggling with a block recently, constantly turning from one direction to another, not knowing what I wanted to do, photograph, learn or research. I’ve got my website to a good place (finally!) so its time to push on and build on that solid base.
But, where do I go next and what should I learn?
I’ve got a stack of photography books waiting for me to read but I’ve been picking them up, casually leafing through the pages and putting them down again. There’s loads I want to dig deeper on, loads of eMails I’ve received from subscriber lists I’m on but everything is building up. I’ve spent a couple of weeks not really getting anywhere…
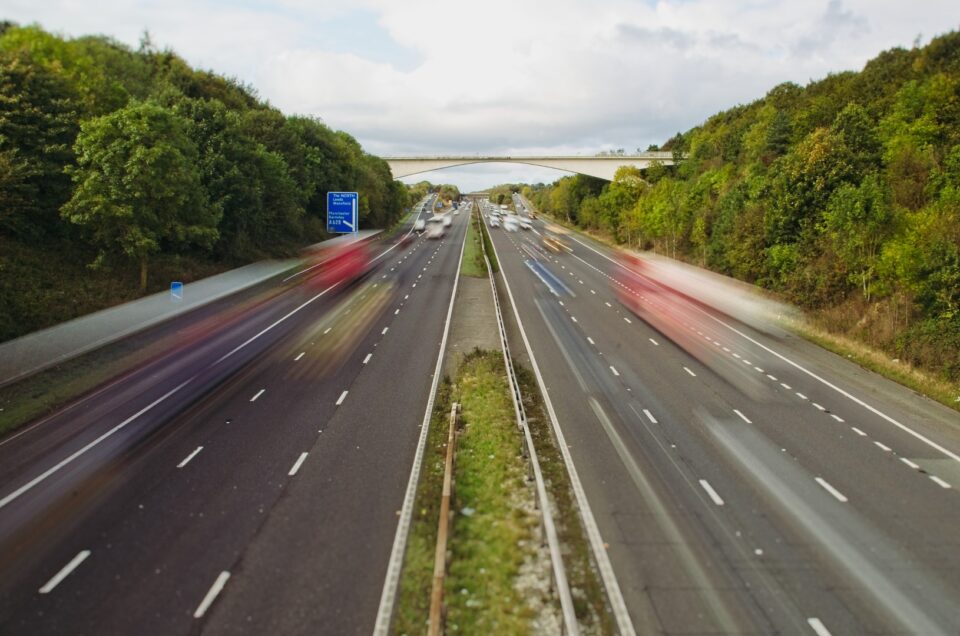
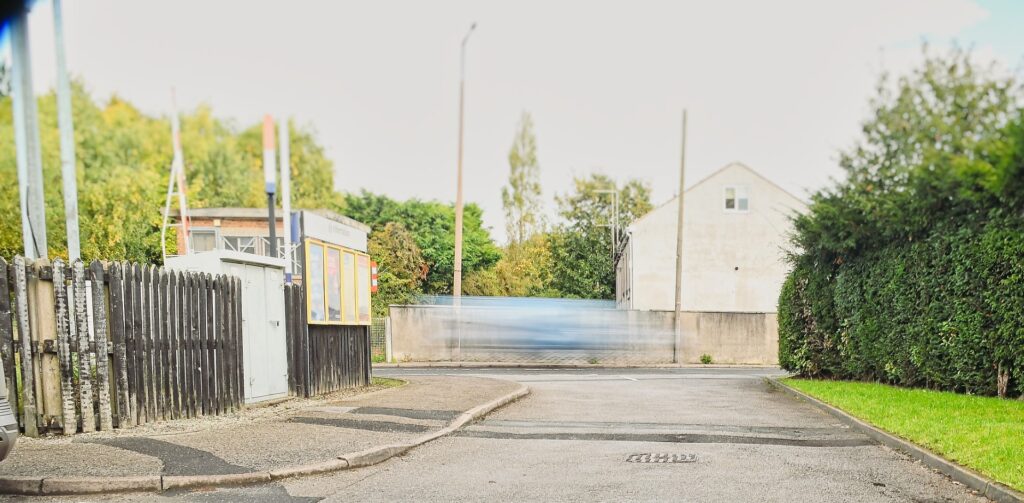
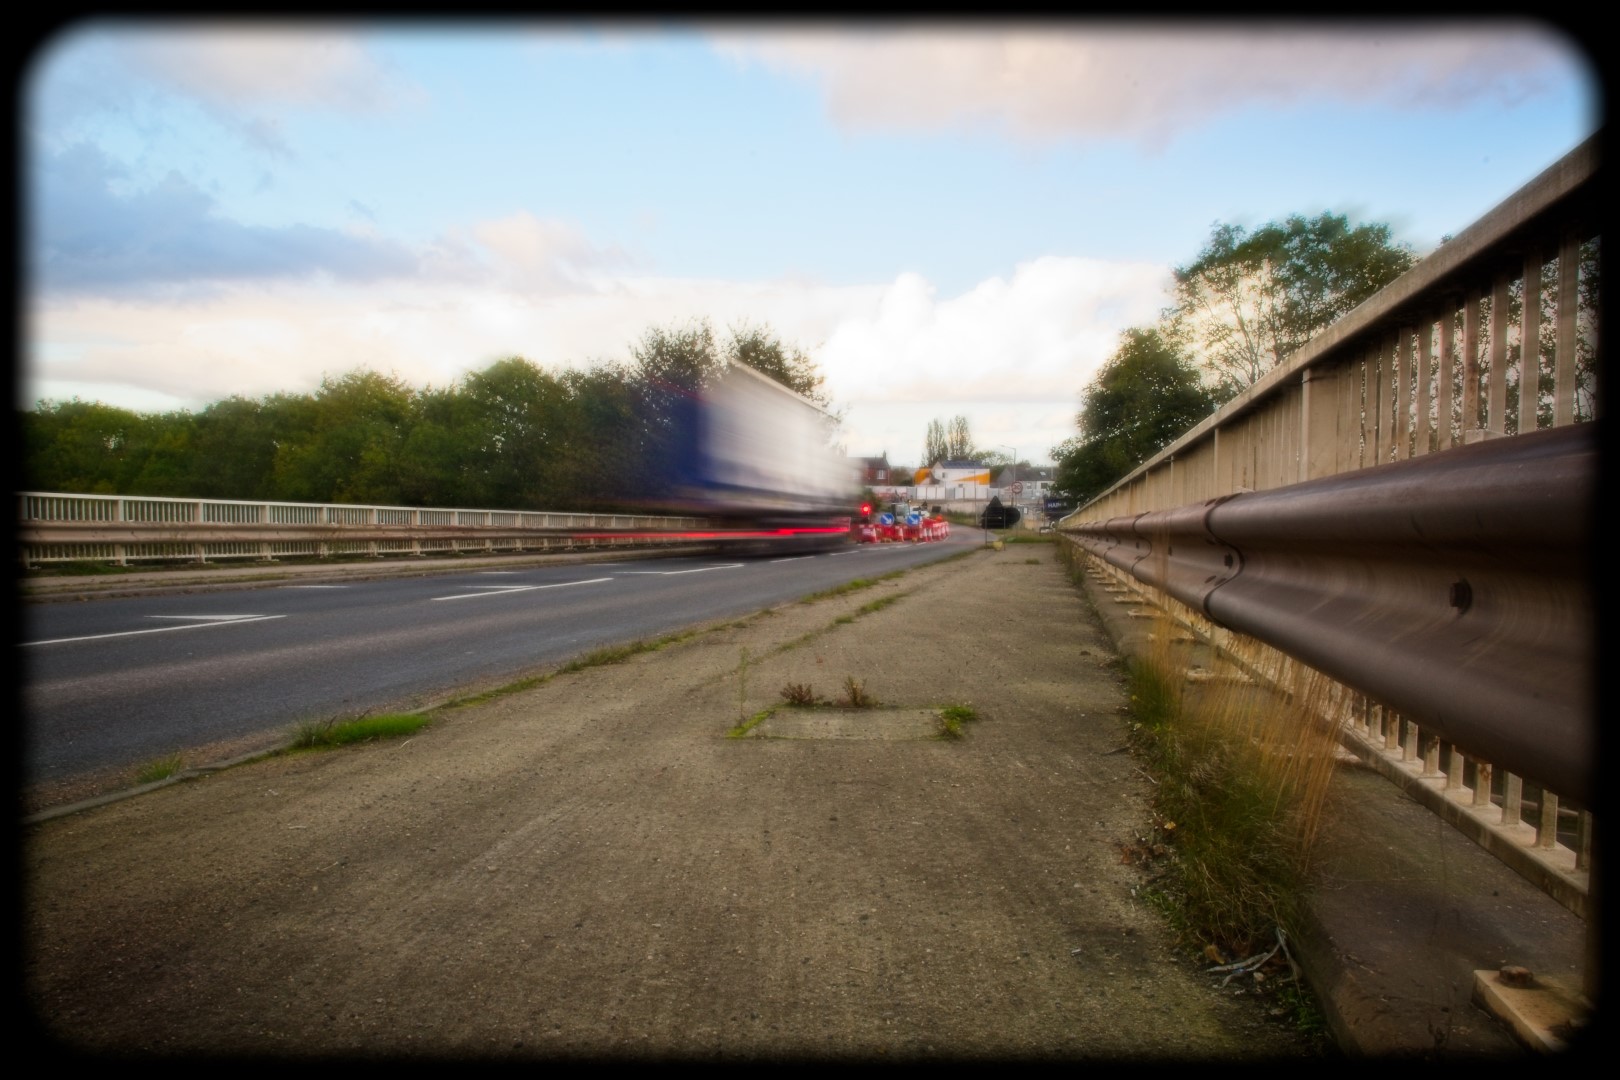
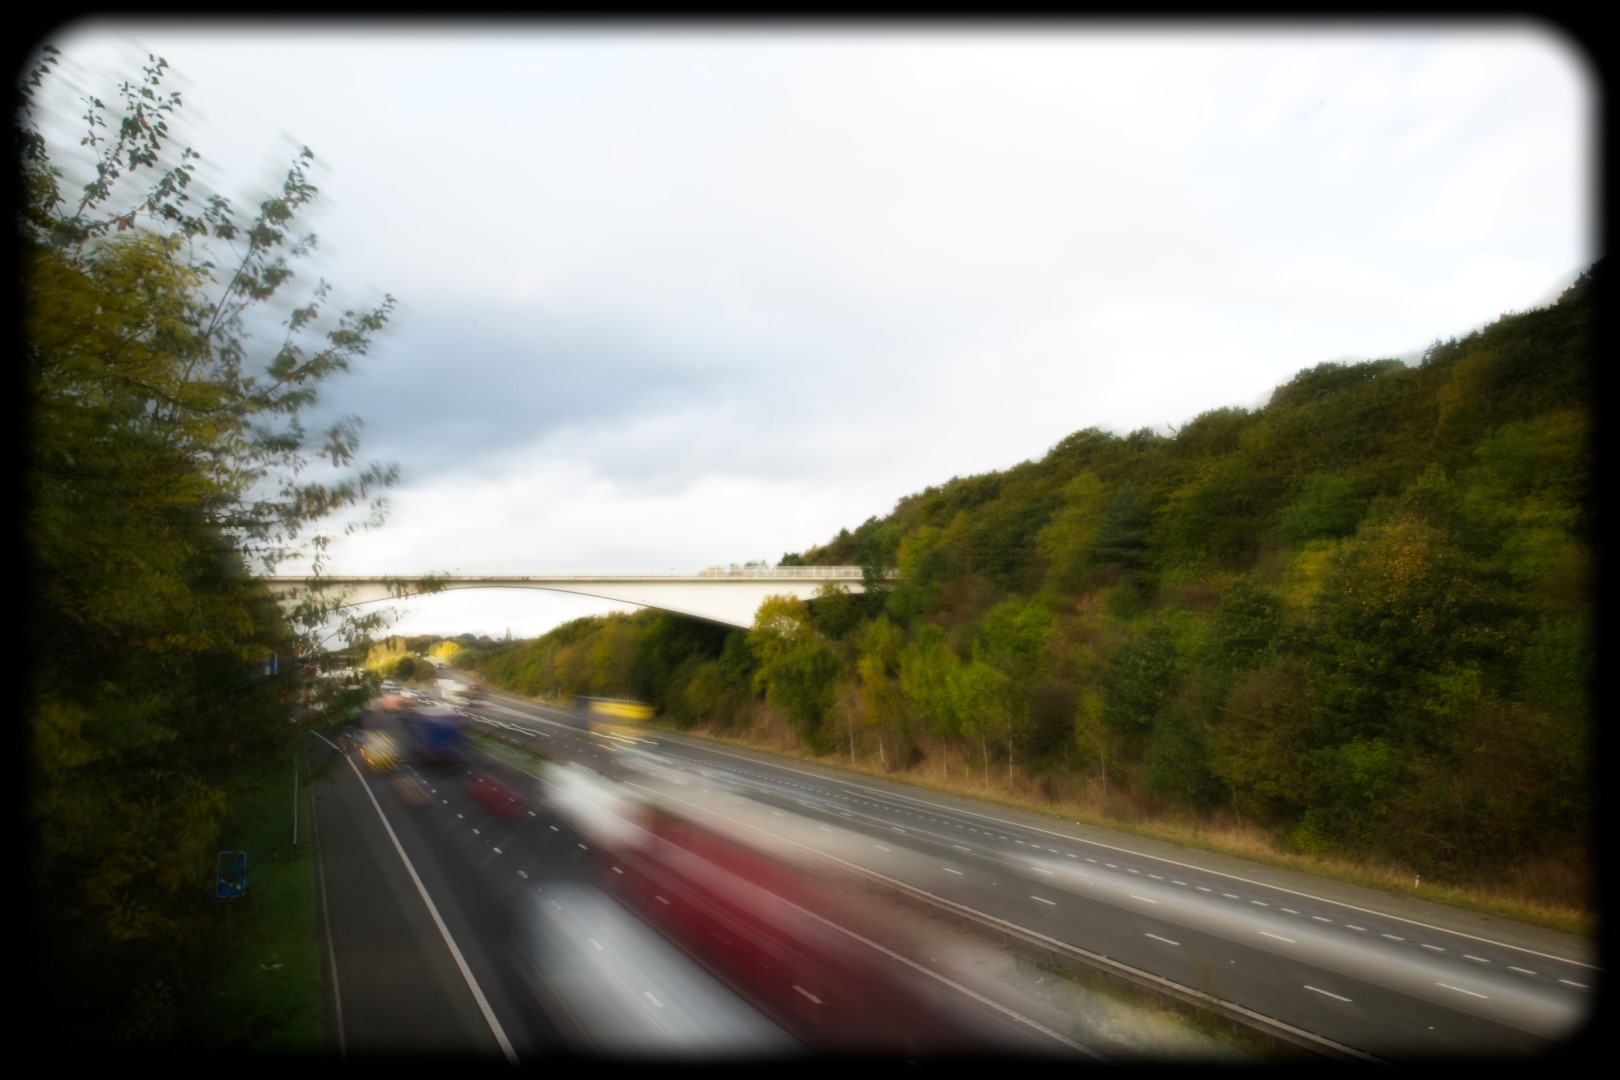
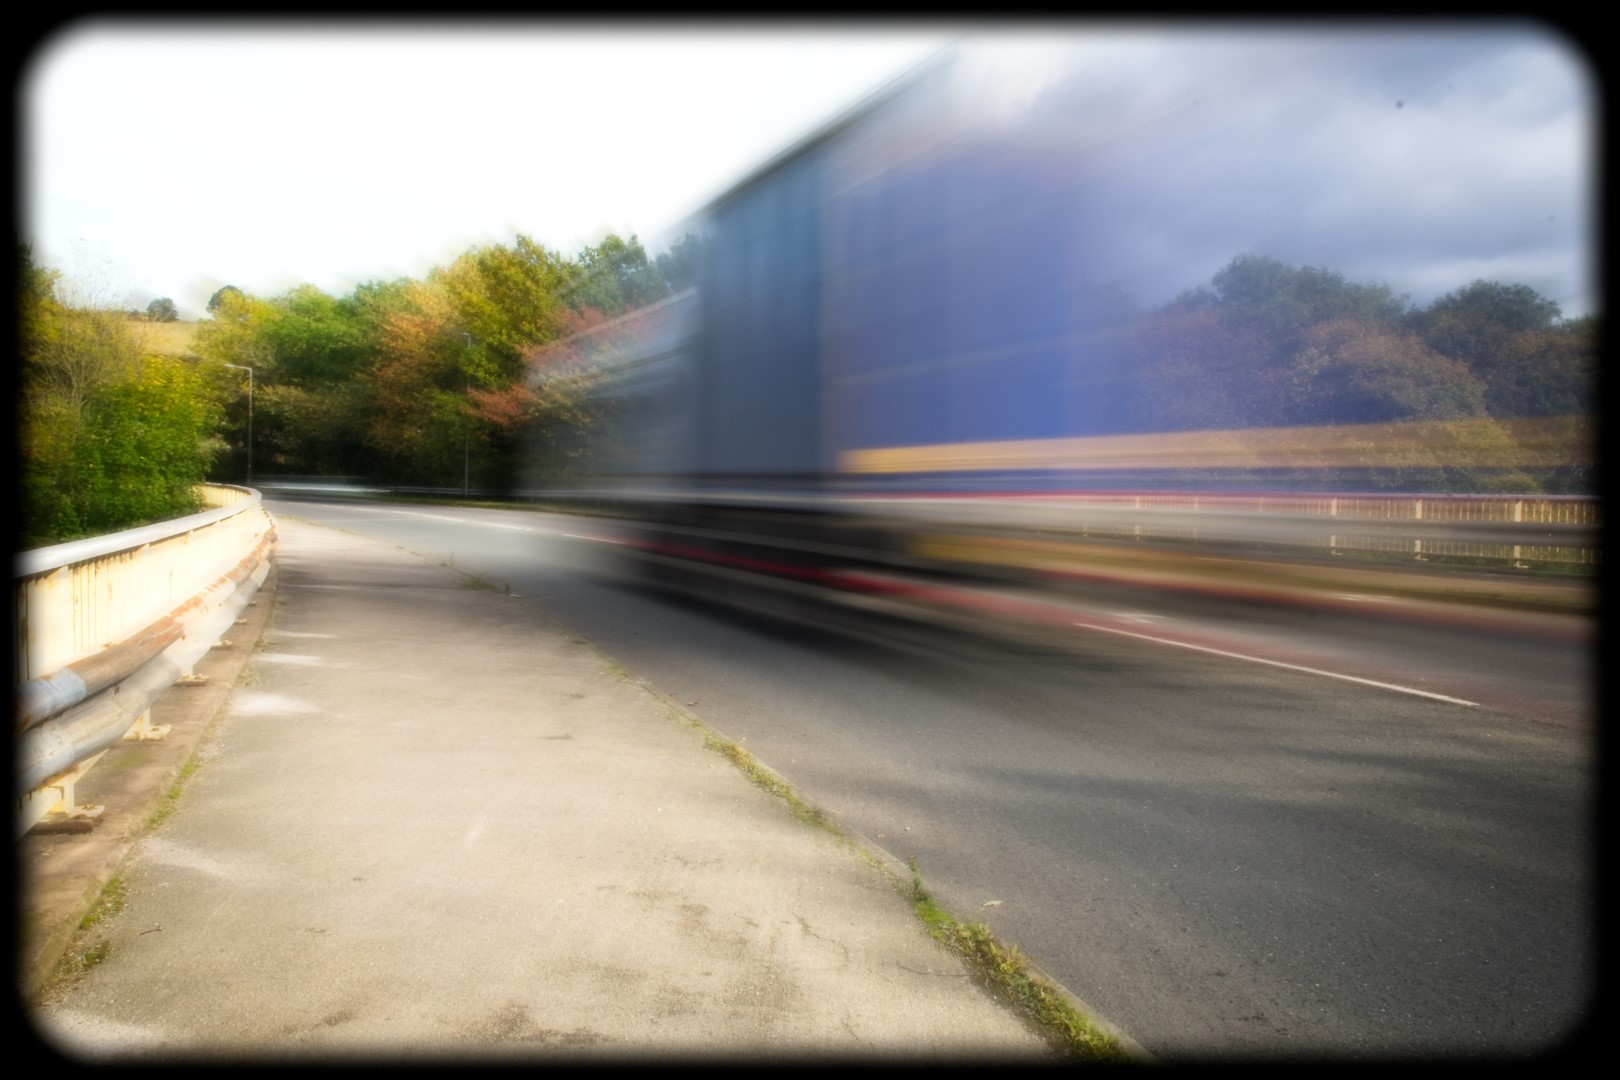
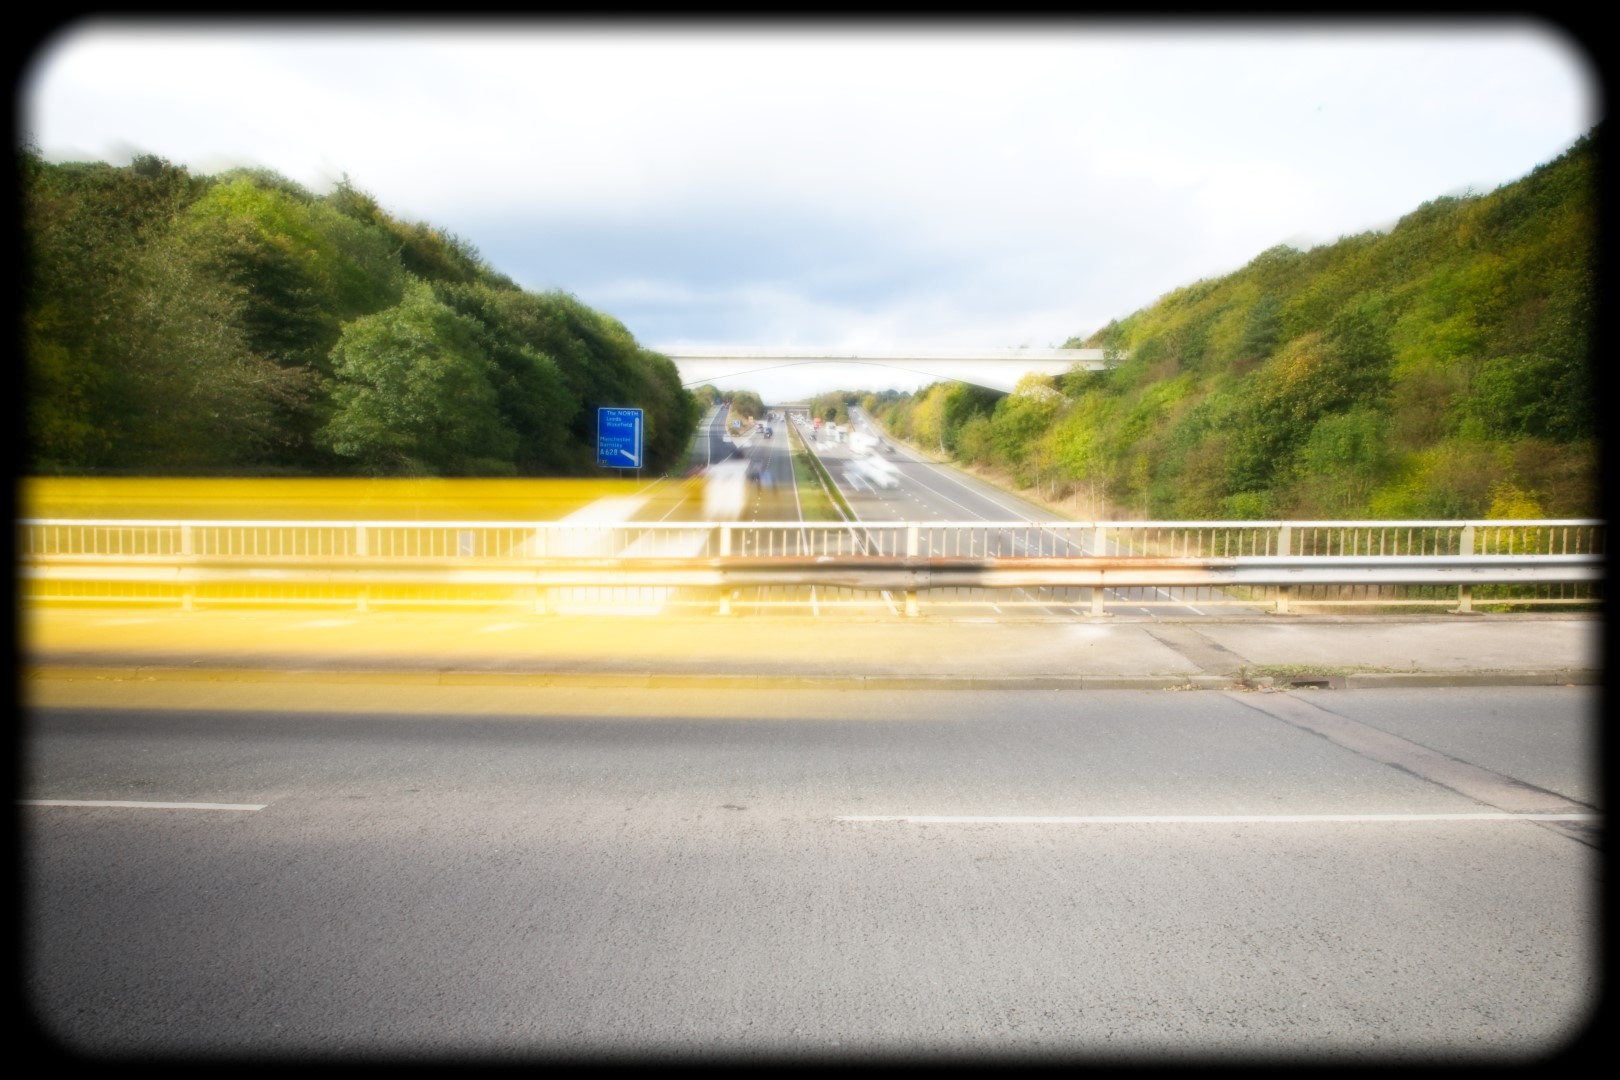
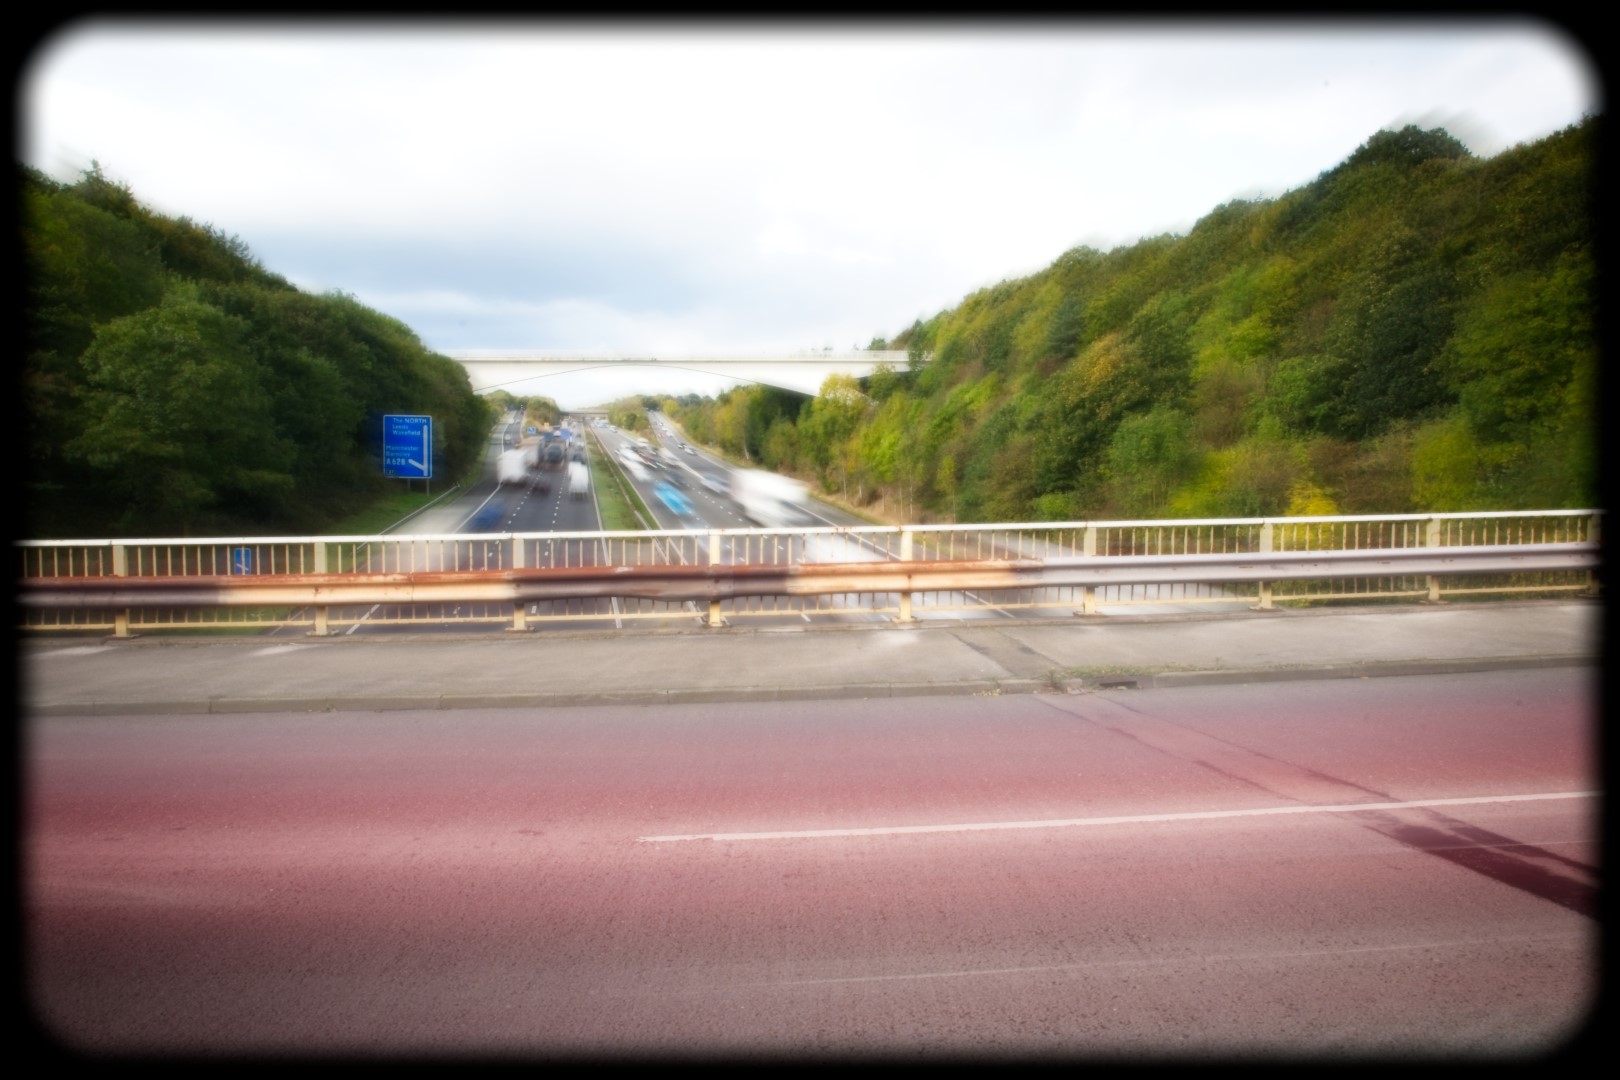
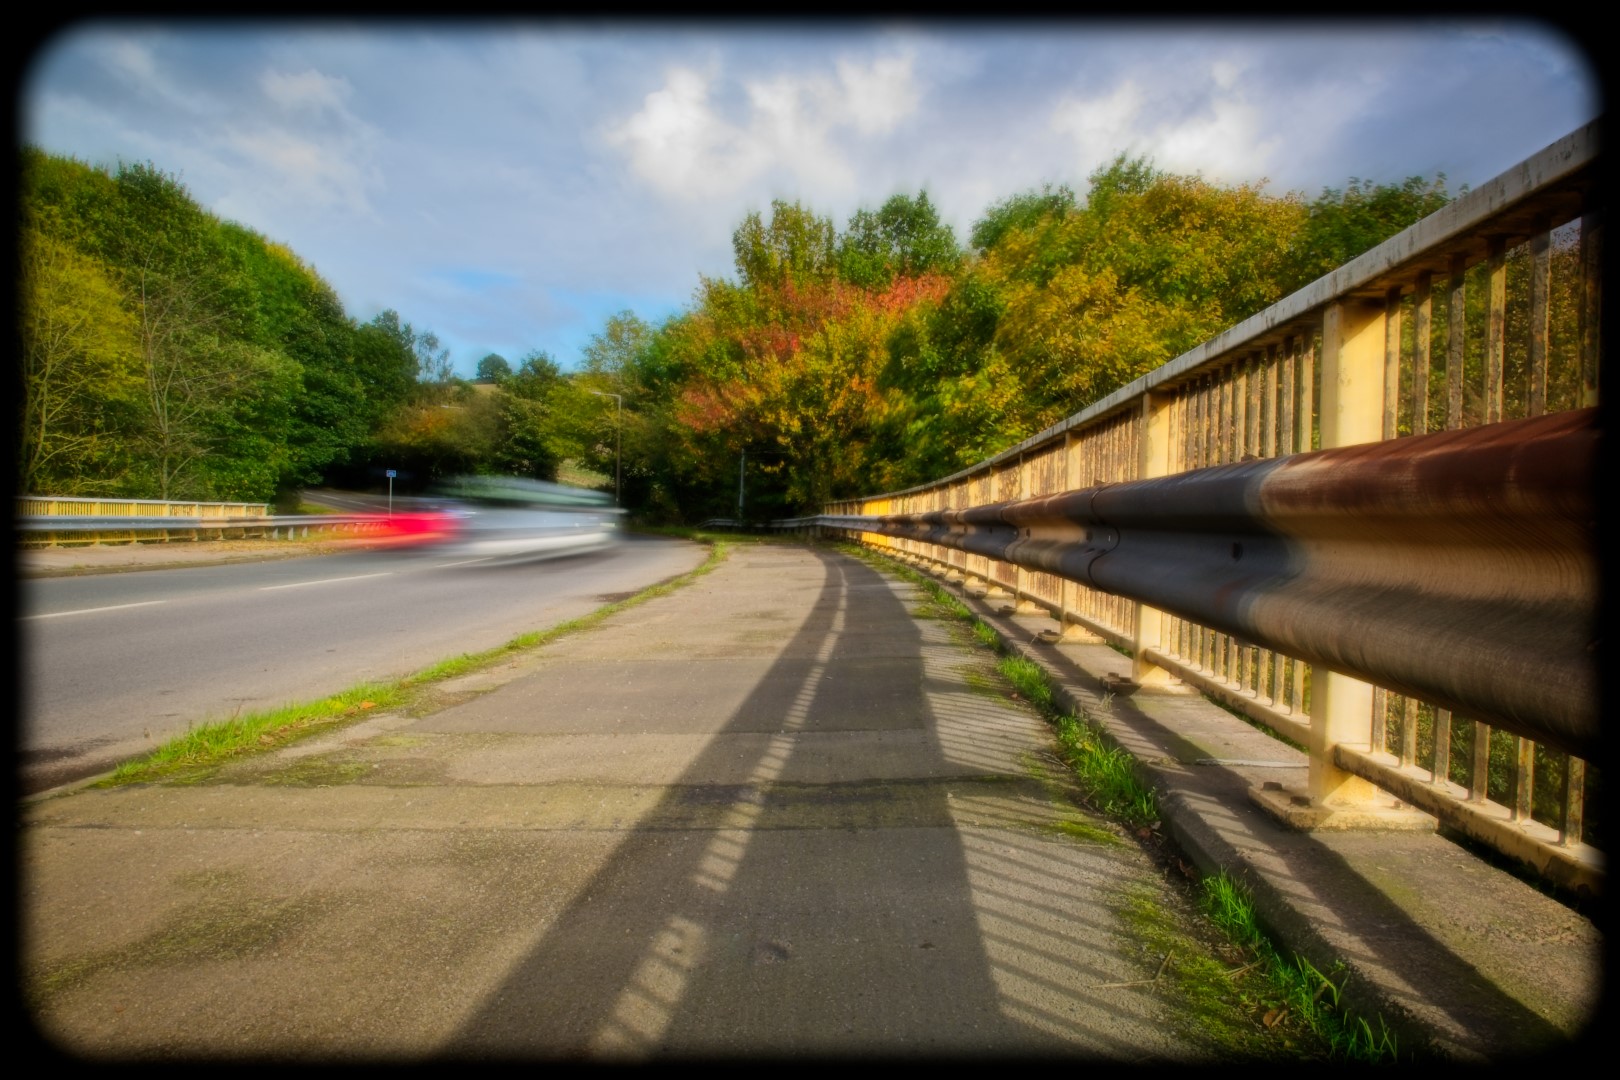
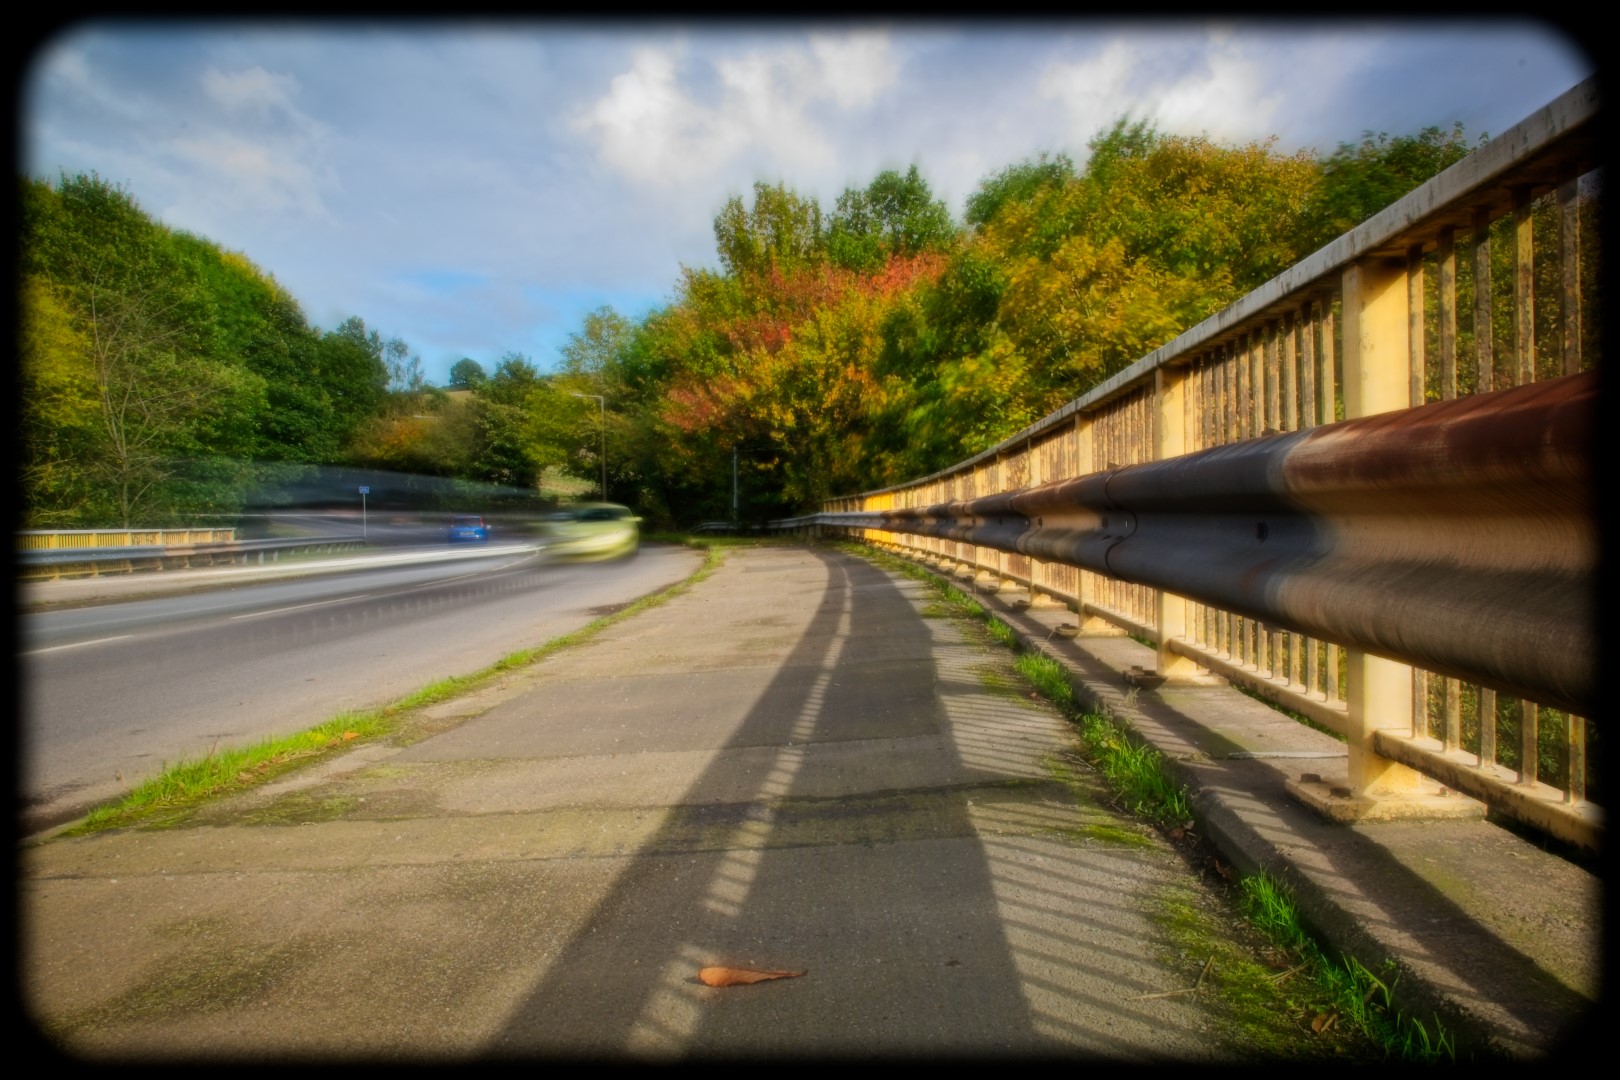
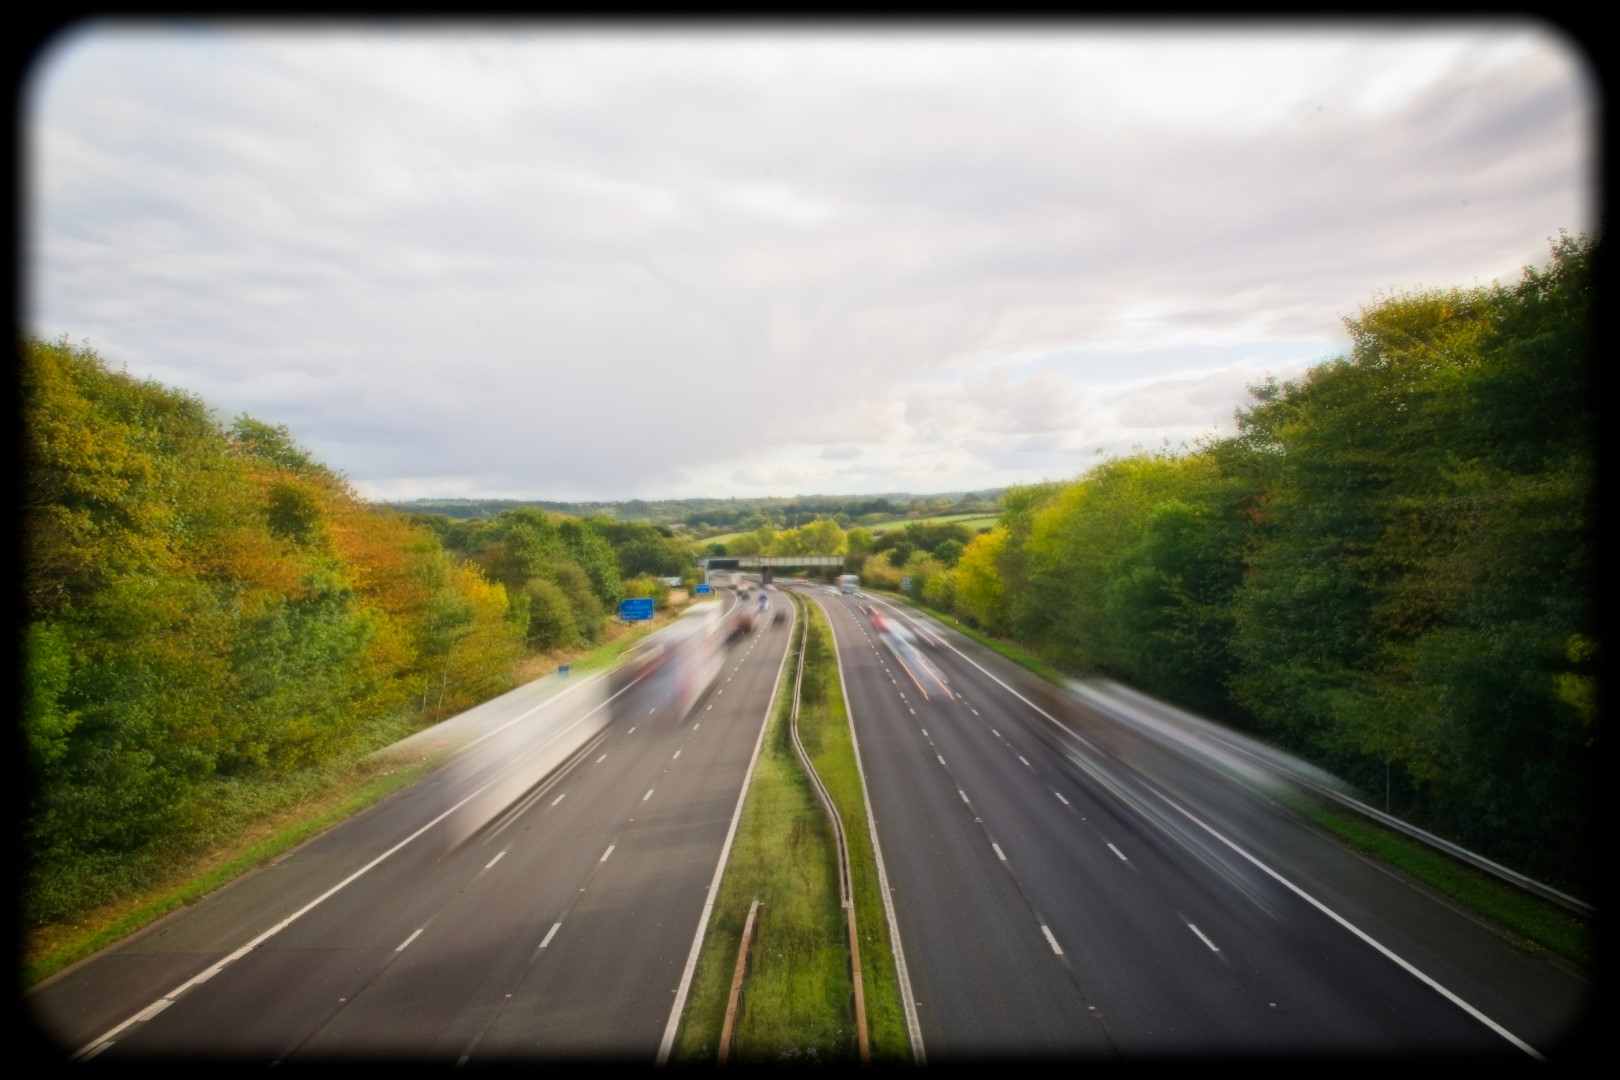
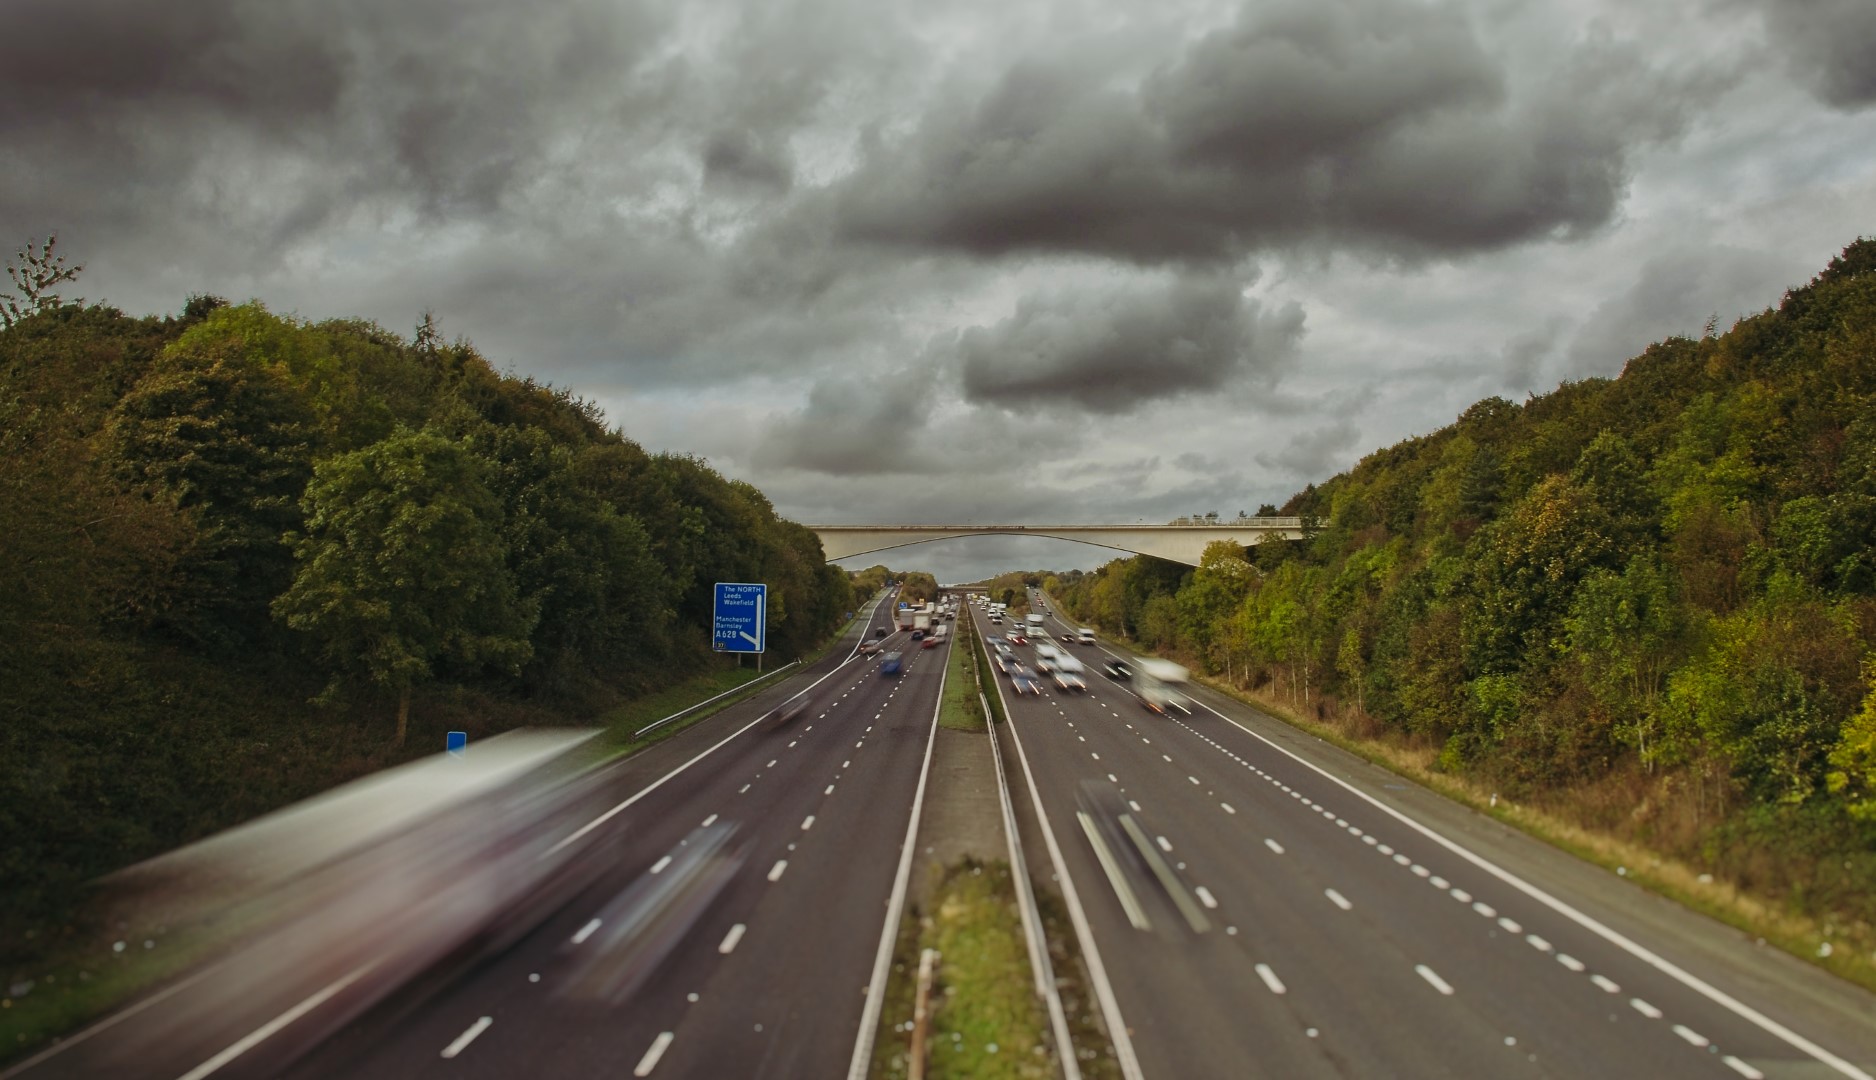
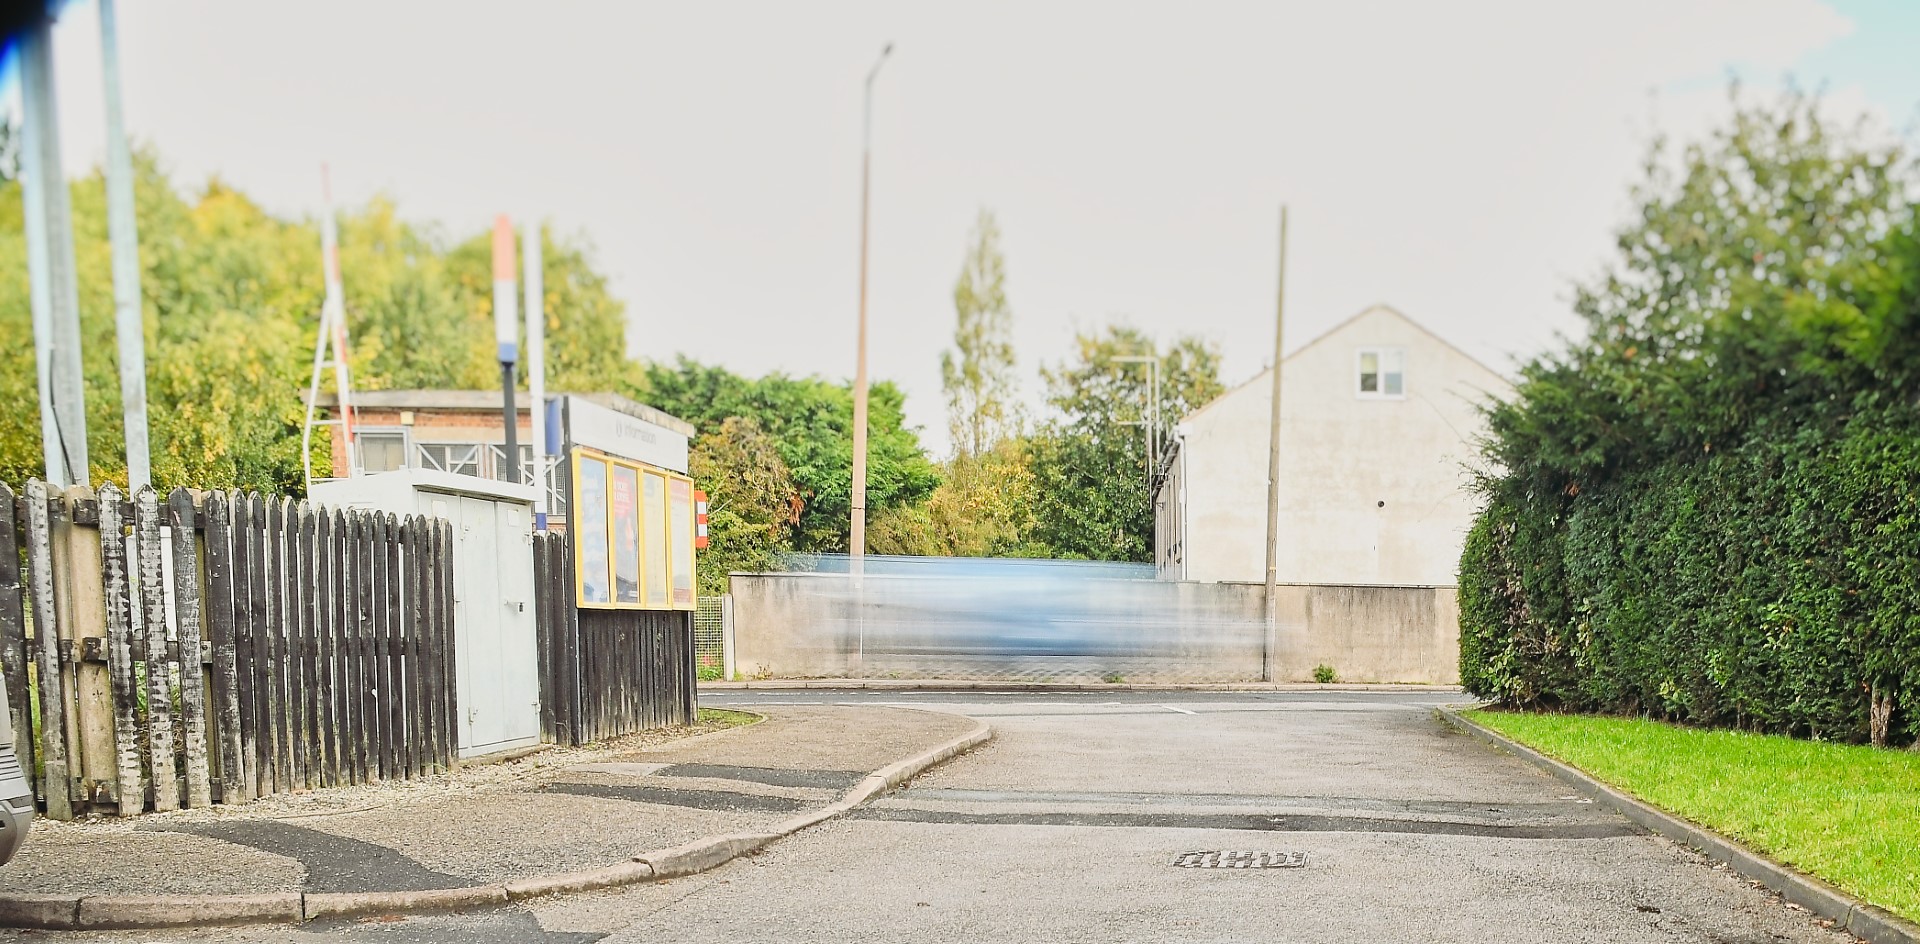
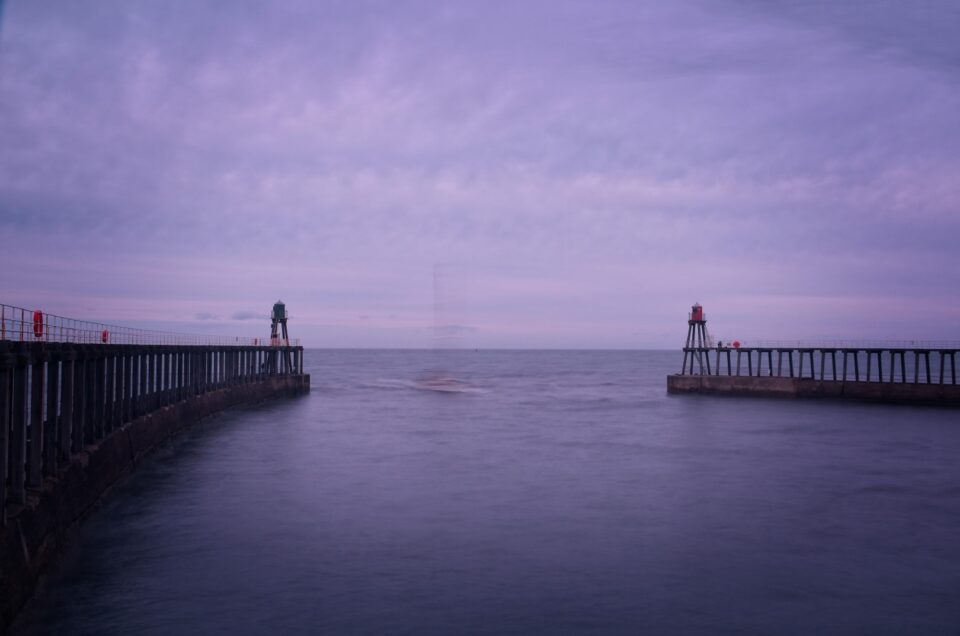
So, I’ve finally pulled myself together and on the back of an eMail I received – which I actually read – I plucked long exposures from my long list of topics and tried a few things out. This is something I’ve tried before but mostly at night – where its relatively easy to produce great pictures from light trails in various places – city centre, a bridge looking down to a motorway, etc. What I though I’d do this time was try it during the day to make it much more challenging for myself.
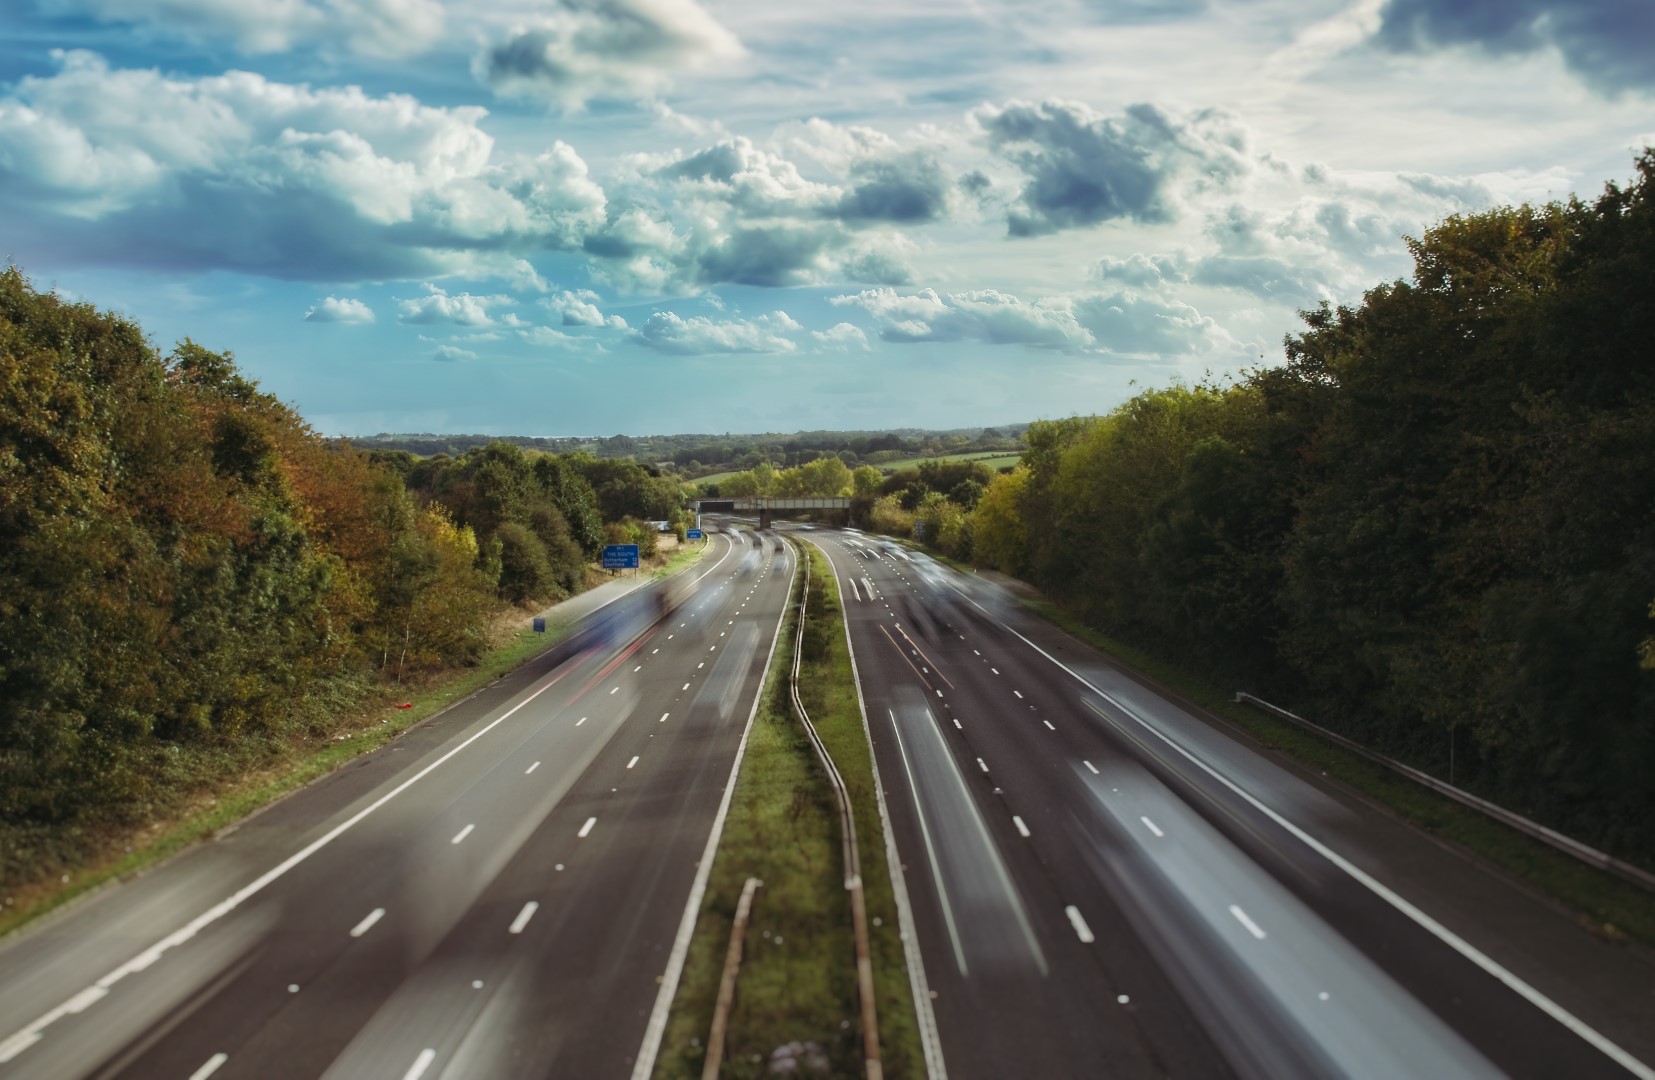
Taking long exposure photographs during the day can create stunning images, like smooth water surfaces, motion-blurred clouds, or bustling cityscapes that appear almost deserted. To do this, you’ll need a Neutral Density (ND) filter, which reduces the amount of light entering the camera, allowing for longer exposure times even in bright daylight.
Here’s a step-by-step guide to help you get started with daytime long exposures using an ND filter.
Choose the Right ND Filter
Set Up Your Camera on a Tripod
Compose and Focus
Calculate Your Exposure Time
Switch to Manual Mode and Apply the ND Filter
Take the Shot
Experiment with Exposure Times
Additional Tips
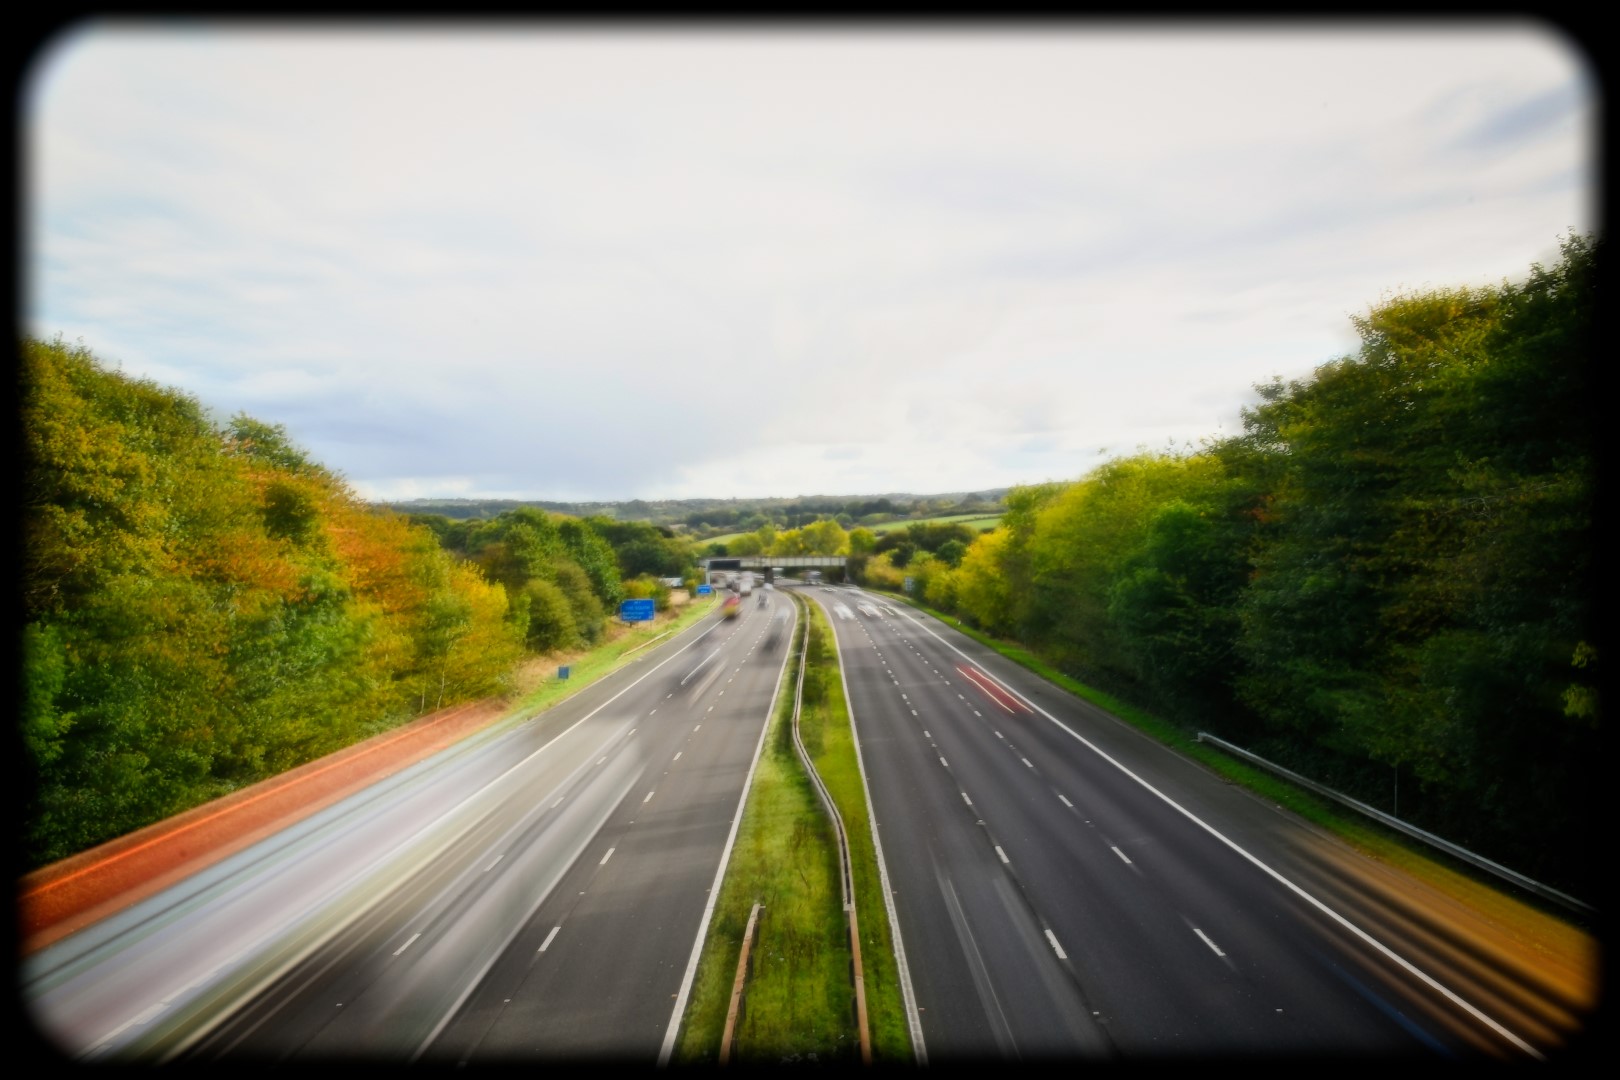
Daytime long exposures with an ND filter open up a lot of creative possibilities, so experiment with different filters and subjects to see what effects you like best. Enjoy capturing those dreamlike, silky smooth scenes!
Photography is a fascinating blend of art and science, where understanding technical details can significantly enhance the creative process. One of these crucial technical aspects is shutter speed, particularly when shooting handheld. Let’s dive into what shutter speed is, why it matters, and how to determine the minimum shutter speed for handheld photography.
Shutter speed, one of the three pillars of photography (alongside aperture and ISO), refers to the duration the camera’s shutter remains open to let light hit the sensor. It is measured in seconds or fractions of a second. A fast shutter speed (e.g., 1/1000s) means the shutter opens and closes quickly, capturing a brief moment in time, while a slow shutter speed (e.g., 1/10s) keeps the shutter open longer, allowing more light to hit the sensor but also capturing more movement.
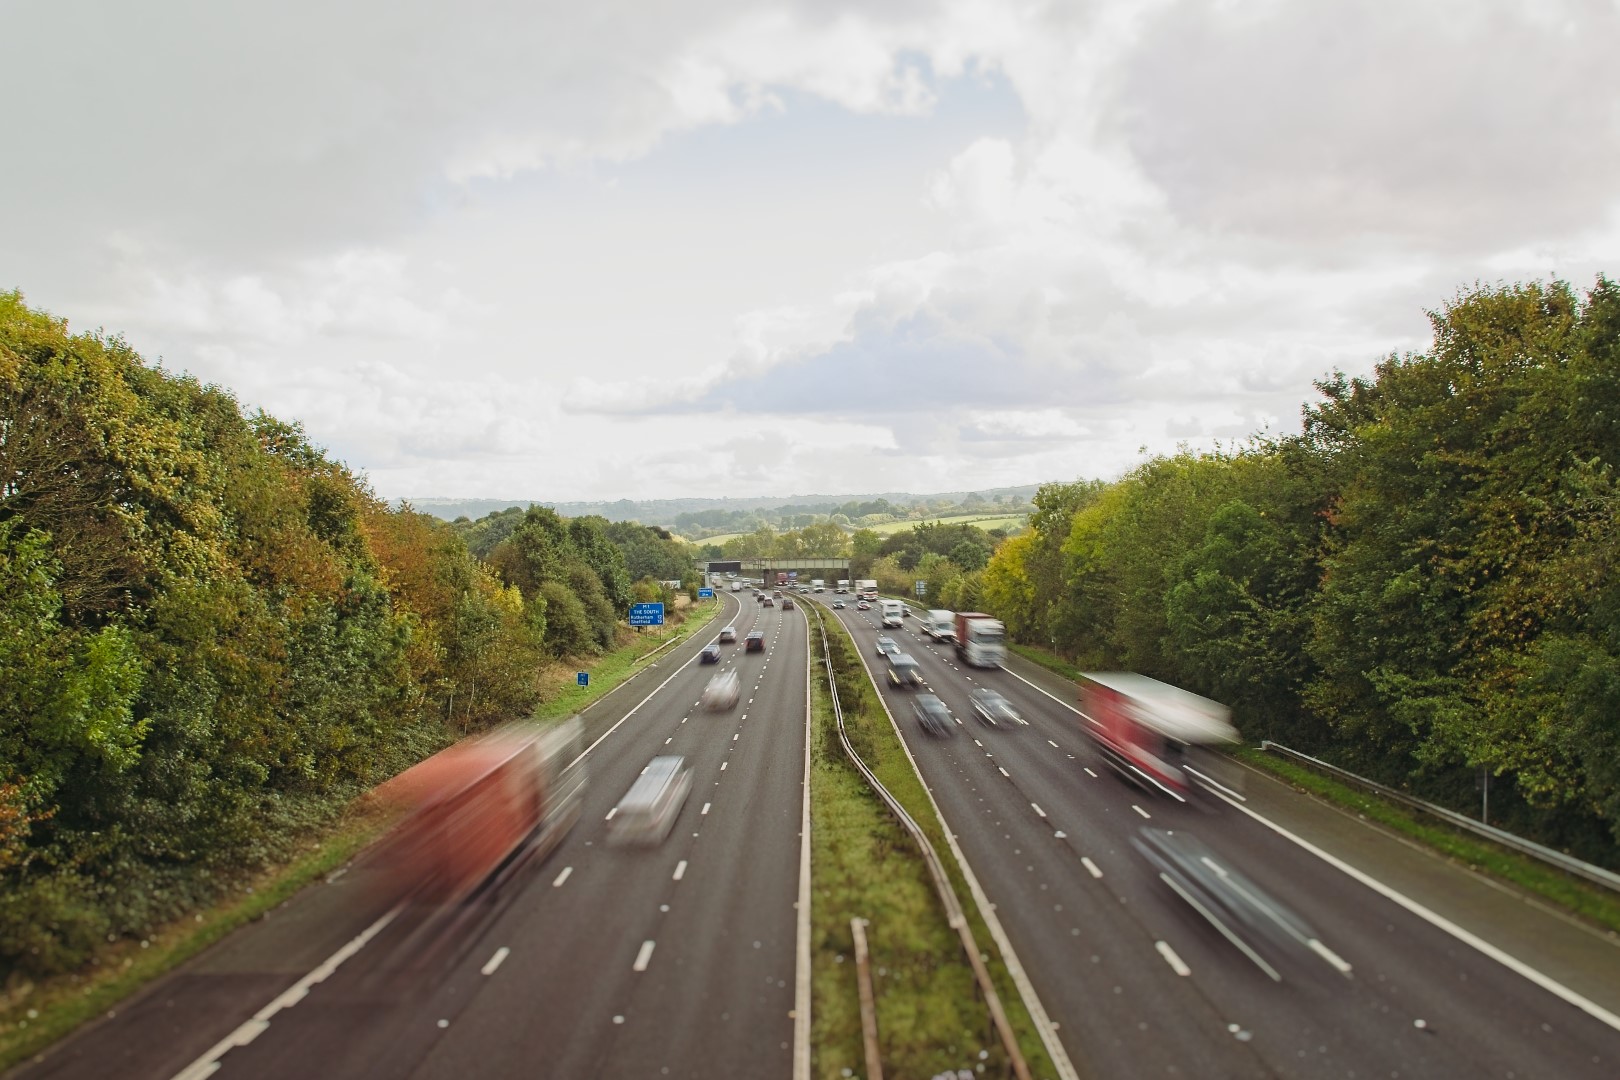
Shutter speed affects both exposure and motion blur. A faster shutter speed reduces motion blur and is essential for freezing fast-moving subjects, whereas a slower shutter speed can introduce motion blur, which can either be a creative effect or an unwanted artifact. When shooting handheld, maintaining an appropriate shutter speed is crucial to avoid camera shake, which can result in blurry photos.
A widely accepted guideline for determining the minimum shutter speed for handheld photography is the Reciprocal Rule. This rule suggests that the shutter speed should be at least the reciprocal of the focal length of the lens. For example, if you are shooting with a 50mm lens, your shutter speed should be at least 1/50s. If you’re using a 200mm lens, aim for a shutter speed of at least 1/200s. This rule helps counteract the natural hand movements that can cause camera shake.
If you are using a crop sensor camera, such as APS-C or Micro Four Thirds, you need to account for the crop factor. The crop factor is a multiplier that effectively increases the focal length of your lens. For instance, an APS-C sensor typically has a crop factor of 1.5x. So, a 50mm lens on an APS-C camera would act like a 75mm lens (50mm x 1.5), and you should use a minimum shutter speed of 1/75s.
Modern cameras and lenses often come equipped with image stabilization (IS) technology, which can significantly reduce the effects of camera shake. Image stabilization can allow you to use slower shutter speeds than the Reciprocal Rule suggests, sometimes by several stops. For example, with effective image stabilization, you might be able to shoot at 1/25s with a 50mm lens instead of the recommended 1/50s. However, the effectiveness of IS varies between systems and even between different models, so it’s always good to test your specific equipment.
Several factors influence the minimum shutter speed required for handheld photography:
Imagine you are photographing a street scene with a 35mm lens on a full-frame camera. According to the Reciprocal Rule, your minimum shutter speed should be 1/35s. However, you notice some motion blur at that speed, so you increase it to 1/60s to get sharper images. If you switch to a 70-200mm lens, at 200mm, your minimum shutter speed should be at least 1/200s, but considering practical experience, you might opt for 1/320s to ensure clarity, especially if shooting moving subjects or if you’ve had a bit too much coffee that morning.
In low-light scenarios, such as a dimly lit room, using a fast lens (e.g., f/1.8) and increasing ISO can help you maintain a faster shutter speed, but be mindful of the noise that higher ISO settings can introduce. Experiment with your camera’s capabilities to find the best balance.
Understanding and applying the concept of minimum shutter speed for handheld photography is fundamental for achieving sharp, high-quality images. While the Reciprocal Rule provides a solid starting point, factors like crop factor, image stabilization, personal technique, and environmental conditions also play significant roles. By practicing and experimenting with your equipment, you can find the optimal settings that suit your style and conditions, ensuring your handheld shots are as sharp and clear as possible. Happy shooting!
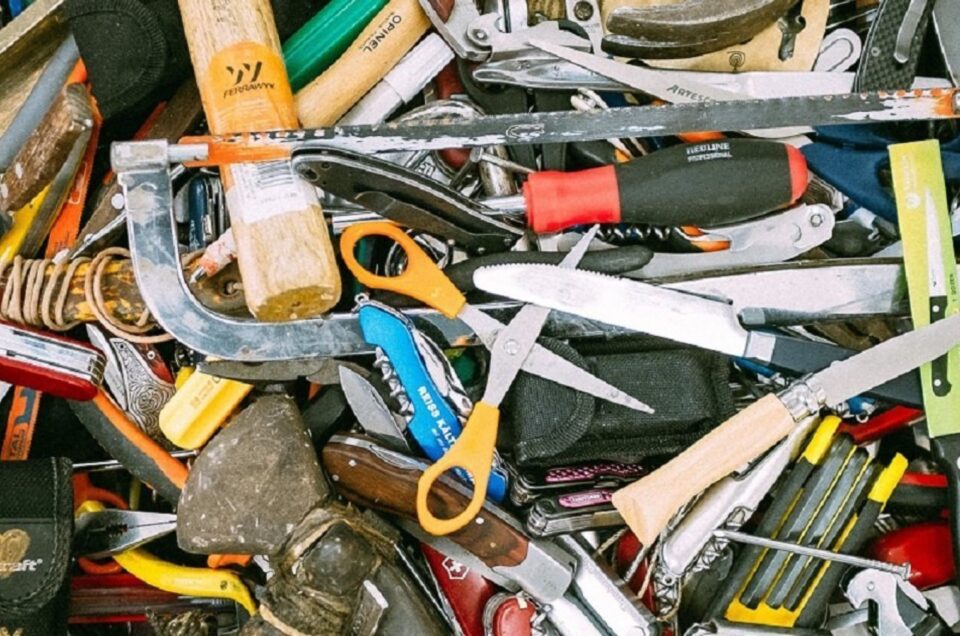
I carry around all sorts of non-camera or photography specific equipment when I go out on a shoot. There’s allsorts of stuff lying around our homes that can be useful to ensure that you are well prepared or have whatever tool, gadget or random bit of stuff on hand when you need it. Here are some of my ideas…
I have all sorts of gear and accessories that I have collected over the years along with allsorts of useful bits and pieces in my camera back. Browsing Amazon and other camera websites, spotting stuff in sales, seeing what other photographers use and recommend has resulted in all manner of things I have tried – some I use all the time whereas others I bring out when I have a particular idea or need or am taking a particular type of picture. In fact, I’ve just downsized my camera bag as I was carrying too much around with me all the time and moved most of my gear to another carry box that’s also easy to throw into the car boot when I go out and about.
In my camera bag now I just keep the essentials:
And that’s about it! I have deliberately cut that down to the absolute essentials to make sure that I am focussed and don’t spend too much time overthinking what I else I could be using and I’m certainly no longer carrying gear around for the sake of it. Often now this makes me think about what I’m intending to go out and shoot and it makes me plan better. There are times when I get out and find I’ve left something at home but that’s where the ‘spare box’ comes in:
My next most important stuff is kept in a big plastic container that, having said that above, tends to find its way into the car most times! There is all manner of things in there:
At some point or another all of this comes in handy and gear comes / goes into this box over time.
So you’re shiny new camera has arrived. You’ve unpacked everything, charged and inserted the battery and memory card and attached the lens (hopefully to the front!). So what now? But maybe not. This is an expensive piece of kit and you want to make sure you’re doing everything right. If you’re struggling with these starter tasks then the absolute first thing you should be doing is reading the camera manual to at least get this far.
It sounds like an absolute obvious thing (and I admit that I hate reading manuals and intructions) but camera manuals are an absolute goldmine of information. How do I actually take my first picture? How do I view it when I’ve taken it? What do all the buttons mean? What do SOME of the buttons mean?
The first pass through the manual will be and absolute mind-mash and there will be plenty of (if not most) terms, processes and functions that you will have no clue about, even with the camera in your hands. You might be able to change the settings as the manual describes but you certainly won’t understand why you would need to and what effect they will all have on your finished picture.
Don’t worry. You are at the start of a very long journey of learning…perhaps one that won’t ever finish! Skim read it the first time perhaps. Make notes in it, highlight stuff, put some markers in there for quick reference. Make a list of things you want to understand first. Have some easy goals in mind though so here’s a starter checklist:
Sounds like a bit of an epic? Don’t worry it’s all totally achievable and fairly easy to get through with the help of the manual. For now, forget about everything else and get through that list. At that point, give yourself a pat on the back and take plenty more pictures to get the feel of the camera, how to hold it and get used to using it. Practice for a bit. You are well on the way of the start of your journey!
How do we see? Admittedly some are better than others (without my glasses I’m as blind as a bat!). But, in order to see our eyes need light. It enters through the pupil, is focussed by the lens (or the other way around with glasses!) then hits the optic nerve where it goes off to be processed by the brain.
Camera’s work on exactly the same principle. It needs light (sometimes not very much) to be able to see the area in front of it to record the image. It is focussed by the glass in the lens, then goes through a hole in the lens (like the pupil), before passing into the camera sensor (optic nerve if you like) to record the scene. There’s a little more to it but that’s the basic.
Grab too much light in the recording and the image will be OVER EXPOSED. Don’t get enough light and the image will be UNDER EXPOSED. Mostly these are bad as you’re looking for a sweet spot somewhere along the line between the two that give a good balance of a few things (bear with me), but sometimes over or under exposing an image is what we want. The important thing is we need to manage and control the exposure and make sure it’s not down to guess work. On auto mode the camera does a lot of work for you and tries its best with the information it reads from the scene to take the most appropriately exposed picture – or so it thinks.
But, three things can be adjusted to control exposure – aperture, shutter speed and ISO. Getting all this right for the type of image you are trying to achieve is what we’re all about over the next few posts. Get them right in connection with each other and you’ll instantly make a massive jump forwards in the quality of your images from ‘point and shoot’ to something more refined, balanced and looking much more professional.
Let’s start with APERTURE.
This refers to a hole or a gap in the camera’s lens – the word simply means ‘opening, hole or gap’. It is closed by default and how wide it opens can be controlled in manual mode to determine how much light enters the lens and the camera sensor is exposed to. Open the hole really wide and a lot of light comes in, open it only a little bit and not so much. Change the aperture setting and you control the size of the hole.
The size of the hole is referred to as the ‘f stop’ and if you’ve seen ‘f2’ or ‘f13’ or similar then this is what it is referring to. There will be more on f-stops and how they relate to lenses in a later section.
What I find really confusing is that smaller f-numbers give a bigger hole. See the following image:
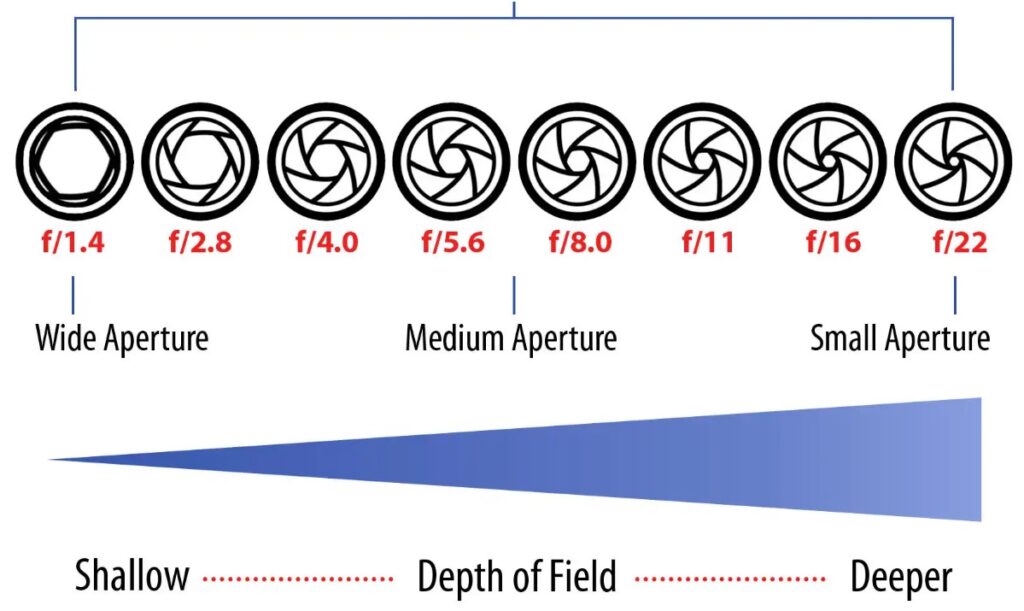
F2.8 gives a massive (relative) hole to let in lots of light, often used in low light situations, and f11is a much smaller hole that lets in hardly any light at all – much less than f1.4 and there is a sliding scale in between.
This is just an introduction to the concepts of aperture and I’ll write more on it in a separate post. This simple understanding should suffice for now. Hopefully.
Select Date & Time
Your Reservation
Location
{location_name}Clients
Photographer
{employee_name}Price
{reservation_price}Total: €0